Creating prototypes is a crucial step in product development, allowing businesses to test, refine, and validate their designs before full-scale production. CNC machining is one of the most effective methods for producing high-quality prototypes due to its precision, speed, and material versatility.
In this blog, we’ll explore how to create prototypes using CNC machining, the benefits of this method, and key factors to consider when developing your next prototype.
Why Use CNC Machining for Prototyping?
CNC machining offers several advantages for prototyping compared to other manufacturing methods like 3D printing, injection molding, or casting.
✔ High Precision and Accuracy
CNC machining provides tight tolerances, making it ideal for functional prototypes that require exact dimensions.
✔ Wide Range of Materials
Unlike 3D printing, which is often limited to plastics, CNC machining can process metals, plastics, and composites, making it suitable for real-world testing.
✔ Fast Turnaround Time
With computer-controlled automation, CNC machining can quickly produce parts, speeding up the product development cycle.
✔ Scalability for Production
Prototyped parts created with CNC machining can be easily scaled up for mass production without significant changes to the process.

Step-by-Step Guide to CNC Machining Prototypes
Step 1: Define Your Prototype Requirements
Before starting CNC machining, you need to determine the purpose of your prototype. Ask yourself:
✔ Is it for form and fit testing?
✔ Does it need to be fully functional?
✔ What materials best simulate the final product?
Having a clear objective will help you choose the right materials, tolerances, and finishing options.
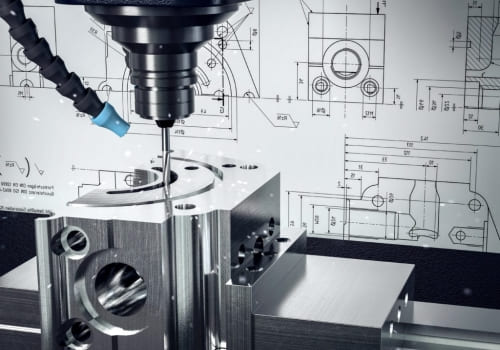
Step 2: Create a 3D CAD Model
CNC machining relies on precise digital designs, so the next step is to create a 3D CAD model of your prototype.
✔ Use software like SolidWorks, AutoCAD, Fusion 360, or CATIA to design your part.
✔ Ensure your model includes dimensions, tolerances, and material specifications.
✔ Save the file in CNC-compatible formats like STEP, IGES, or STL.

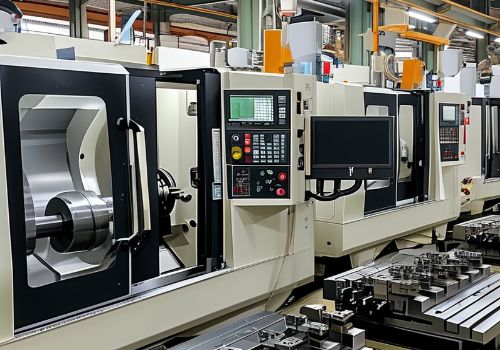
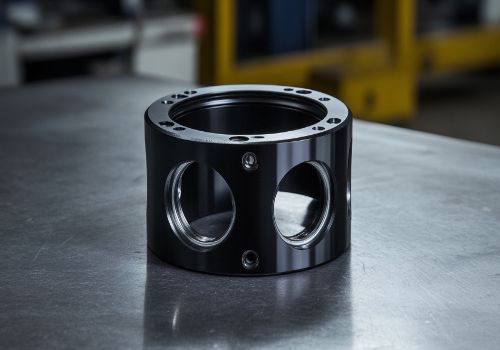
Step 3: Choose the Right CNC Machining Process
Depending on the complexity of your prototype, different CNC machining methods may be used:
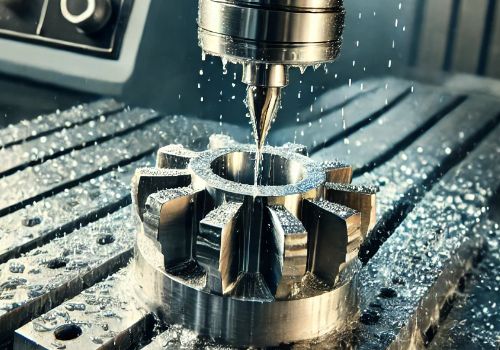
✔ CNC Milling – Ideal for complex shapes, pockets, and surface finishes.
✔ CNC Turning – Best for cylindrical or round components.
✔ 5-Axis CNC Machining – Used for highly intricate designs with multiple angles.
If your prototype requires additional features like engraving, threading, or ultra-precise holes, consider adding specialized CNC machining processes.
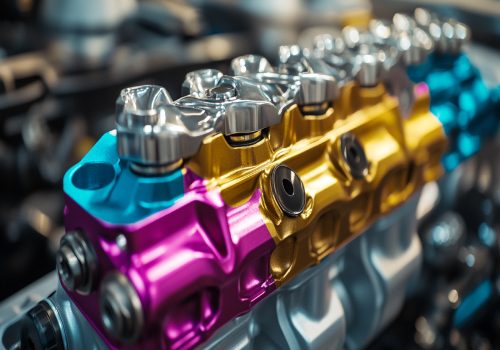
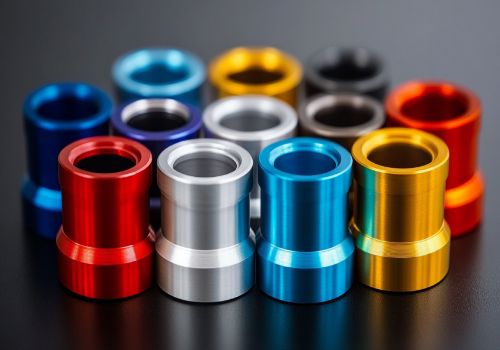
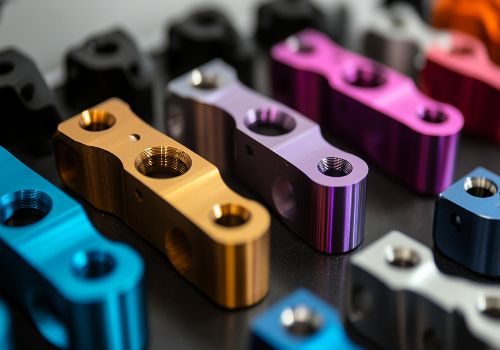
Step 4: Select the Right Material
The choice of material depends on factors like mechanical properties, cost, and final application. Here are some common options:
Metals
✔ Aluminum – Lightweight, durable, and cost-effective.
✔ Stainless Steel – Corrosion-resistant and strong.
✔ Titanium – High strength and heat resistance for aerospace or medical prototypes.
Plastics
✔ ABS – Affordable and easy to machine.
✔ POM (Delrin) – High stiffness and low friction.
✔ Nylon – Good impact resistance and flexibility.
Choosing the right material ensures your prototype performs as expected under real-world conditions.

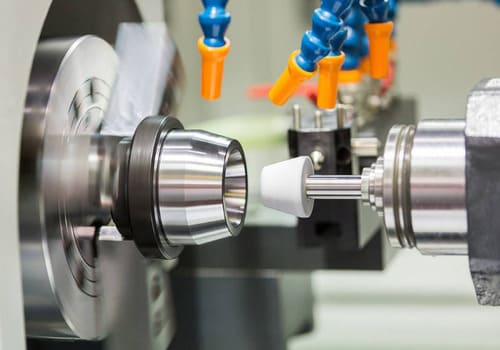
Step 5: CNC Machining Setup and Production
Once the design and material are finalized, the CNC machining process begins.
✔ Toolpath Programming – CAM (Computer-Aided Manufacturing) software generates the toolpaths for machining.
✔ Machine Setup – The CNC machine is calibrated and the material is secured.
✔ Machining Process – The CNC machine cuts, mills, or turns the material according to the design.
✔ Quality Inspection – The prototype is measured and inspected for accuracy.
This step is crucial to ensure the prototype meets tight tolerances and design specifications.
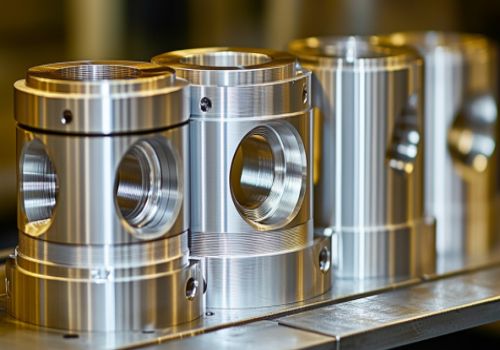
Step 6: Post-Processing and Finishing
CNC machined prototypes often require additional finishing to enhance functionality and appearance.
✔ Surface Finishing – Options include anodizing, powder coating, and polishing.
✔ Heat Treatment – Improves the mechanical properties of metal parts.
✔ Assembly & Testing – If multiple parts are required, they are assembled and tested.
Post-processing ensures your prototype meets aesthetic and performance requirements.

Best Practices for CNC Machining Prototypes
✔ Optimize Your Design for CNC Machining – Avoid unnecessary complexities that increase cost and machining time.
✔ Minimize Unnecessary Tolerances – Tight tolerances should only be applied where necessary to save cost.
✔ Consider Machining Time and Cost – Reducing material waste and machining steps can lower expenses.
✔ Work with an Experienced CNC Supplier – Partnering with a skilled CNC machining provider ensures high-quality results.
Conclusion
CNC machining is one of the most effective ways to create high-quality prototypes for various industries, including automotive, aerospace, medical, and consumer electronics. By following a structured process—from CAD modeling to machining and finishing—you can develop functional, precise, and durable prototypes that accelerate product development.
Looking for a reliable CNC machining partner for your prototyping needs? DO Machining specializes in high-precision custom CNC prototypes with fast turnaround times. Contact us today to get a free quote!