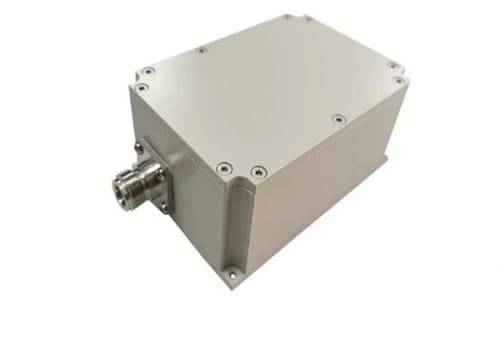
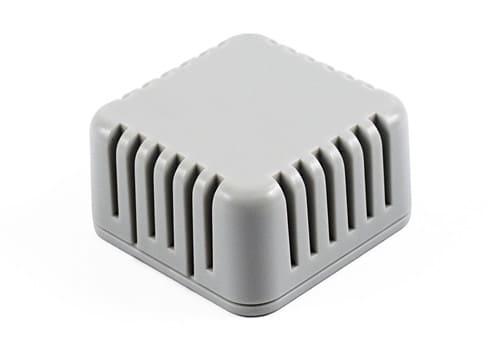
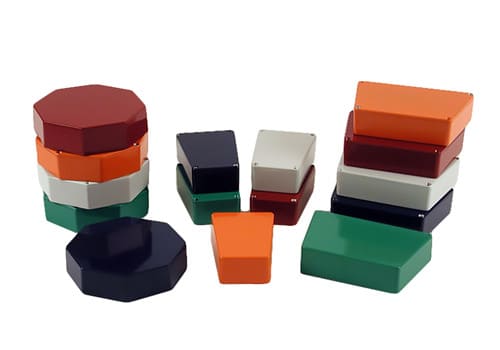
Sensor enclosures are typically made from a variety of materials, and the choice of material depends on the specific requirements of the application, including factors such as the environment in which the sensor will be installed and the size and type of the sensor.
Here are some common materials used for sensor enclosures:
Plastic:
ABS (Acrylonitrile Butadiene Styrene)
Polycarbonate
PVC (Polyvinyl Chloride)
Noryl
Nylon
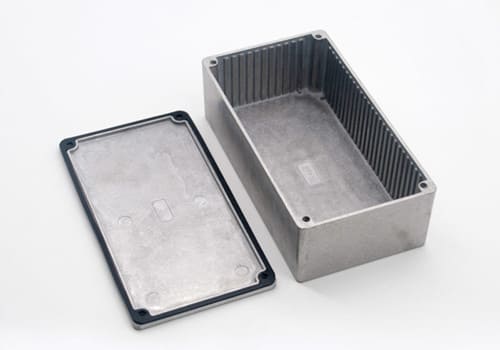
Die-Cast Aluminum:
Often used for rugged and weather-resistant enclosures.
Stainless Steel:
Offers corrosion resistance, making it suitable for harsh environments.
NEMA or IP Rated Enclosures:
Many sensor enclosures are designed to meet specific NEMA (National Electrical Manufacturers Association) or IP (Ingress Protection) standards. NEMA ratings define the level of protection against environmental factors like water, dust, and corrosion, while IP ratings are internationally recognized standards for protection against solids and liquids.
The choice of materials depends on several factors, including the sensor’s application, the operating environment, and the desired level of protection. For example, outdoor sensors exposed to harsh weather conditions may require a stainless steel or fiberglass enclosure, while indoor sensors might work well with plastic enclosures.
Here are general steps to make a sensor enclosure:
Materials and Tools:
Sensor,
Enclosure material of your choice,
Sealing gaskets or O-rings,
Mounting hardware,
Appropriate tools (e.g., drill, hole saw, screwdriver, wrench).
Steps to Make a Sensor Enclosure:
Determine Requirements:
Assess the environmental conditions the sensor will be exposed to.
Define the enclosure’s size and shape based on the sensor’s dimensions and necessary components (e.g., cables, connectors).
Design the Enclosure:
Create a design that accommodates the sensor and any associated cables and connectors.
Include mounting points for the sensor inside the enclosure.
Prepare the Enclosure:
Mark the positions for any openings, ports, or holes required for cables, connectors, and sensor access.
Use appropriate tools to create these openings or holes.
Install the Sensor:
Secure the sensor inside the enclosure using mounting hardware, brackets, or other fixtures.
Ensure the sensor is positioned correctly and does not interfere with openings or ports.
Seal the Enclosure:
If weatherproofing or dustproofing is required, place gaskets or O-rings in appropriate locations.
Ensure that all seams, joints, and openings are properly sealed to prevent environmental ingress.
Test the Enclosure:
Before deploying the sensor in its intended environment, conduct a test to verify that it functions correctly within the enclosure.
Check for any leaks, condensation, or interference with sensor performance.
Secure the Enclosure:
Use fasteners or locking mechanisms to secure the enclosure’s cover or door in place.
Mount or Deploy the Enclosure:
Mount the enclosure in its intended location, ensuring it is securely fixed and aligned as needed.
Monitor and Maintain:
Regularly inspect and maintain the sensor and its enclosure to ensure continued functionality and protection.
Always tailor the design and material choice to your specific sensor and environmental conditions. If you are not experienced in designing and building enclosures, consider consulting with professionals or referring to industry standards and guidelines related to sensor enclosure design and fabrication.
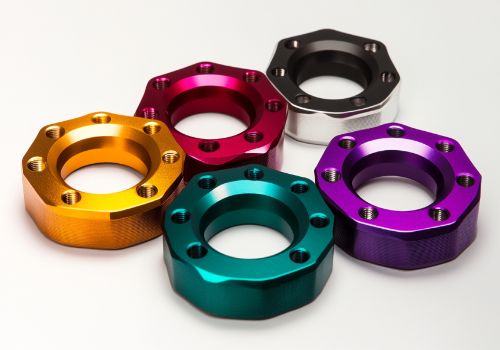
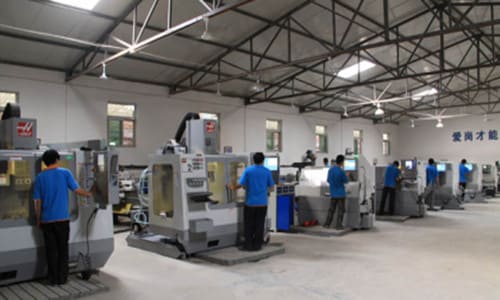
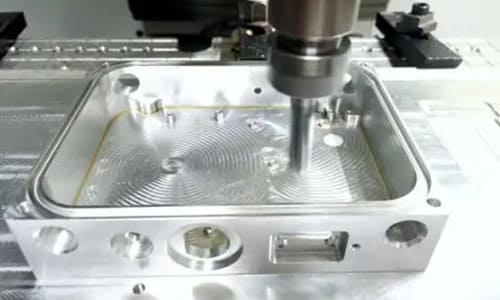
Ready to create your own custom CNC Machining parts? Contact us today to learn more about our CNC machining services and get a quote tailored to your needs!

